| |
| |
Welcome to Patchwork Designs, Incorporated.
We create embroidered patches,
patch programs, activity kits, and embroidered merchandise for
scouting, schools, historical buildings, museums, organizations,
and special events.
|
| |
Welcome to Patchwork Designs, Incorporated.
|
|
| |

|
|

|
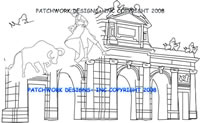 |
- We begin with an image, idea, photo, or sometimes
a hand drawn item from a child. For the Spain images,
we had a client that visited and provided us photos
for inspiration
|
- We create graphic images from the design that we
will use on the patch.
|
 |
 |
- Using color, depth, and a little of our imagination,
a unique 3-D effect is created on a patch.
If it is a custom design then the image is sent to
the customer for review. During your review, you should
change any colors or image placement prior to digitizing
the patch on the computer
|
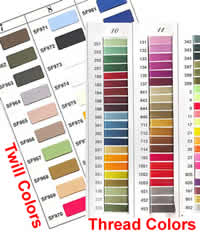
- Design is finalized. Thread colors and twill color
is chosen. Up to NINE colors of thread are chosen,
sometimes more.
We have satin twills, glow
in the dark threads, metallic threads, and cotton
twill
|
 |
 |
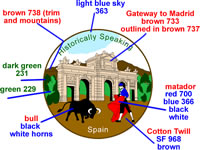
- Colors are assigned to the patch by drawing lines
on the image and noting the colors. At this point
we can not change color choices without re-digitizing
the patch again.
|
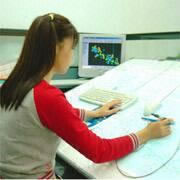
- The colors are then digitzied into the computer
and saved on a disc for easy reorders. The customer
will soon be sent a sew-out sample via email to check
for mis-spelled words.
|
|
| |
 |
| |
| |
 |
|
| |
 |
| |
|
|
| |
|
|
| |
 |
|
| |
- Why does it cost more to produce 50 patches, rather
than 100 patches?
The typical piece of twill that loads on the machine holds
about 100 patches. The remainder of the twill has to be
cut away and tossed. We also have to complete all the same
steps for 50 patches or 1,000 patches.
- Can we take a tour of your factory?
Sorry, we can not allow non-employees in the factory due
to safety reasons. Though we have provided you with the
steps above, so everyone can view the process online and
understand better how a patch is created.
|
|
| |
|
|
| |
 |
|
| |
|
|
| |
|
|
|
|
| |